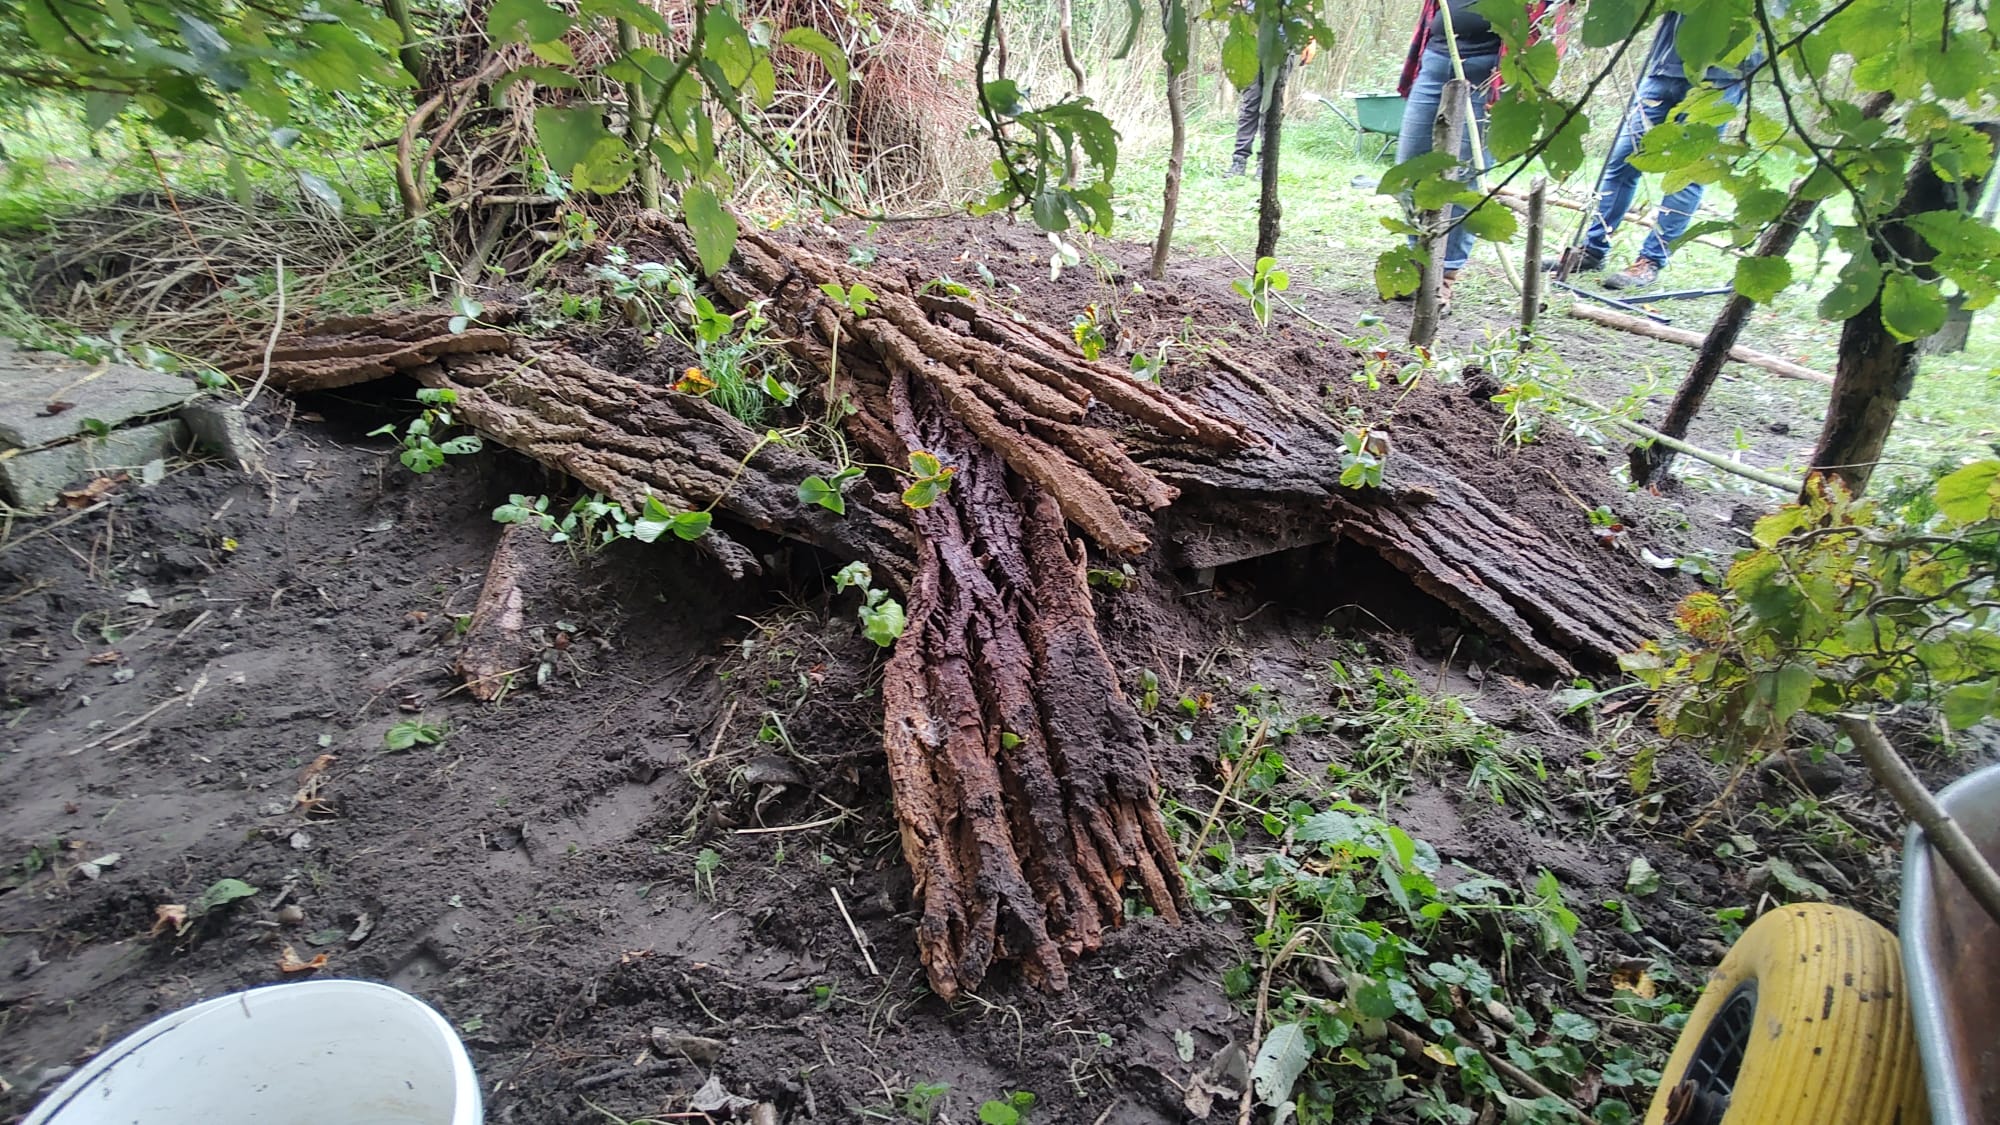
Creating the dome shape
With the nest chambers and tunnels in place, the next step is to transform the structure into a natural-looking dome. The Dome shape is more than just visual; it provides insulation, stability, and camouflage. By carefully adding soil in layers and compacting it, you ensure the structure will last for many years without collapsing.
Step 1: Cover the chambers
Begin by adding a first layer of earth or bark directly on top of the nest chambers. This layer acts as insulation, keeping the chambers warm in winter and cool in summer. Make sure all gaps between bricks, stones, or slabs are filled, so no drafts or rain can enter.
Step 2: Add soil in layers
Gradually pile soil over the chambers, 10–15 cm (4–6 inches) at a time. After each layer, gently press or tap it down with your hands or the flat side of a shovel. Building slowly in layers prevents air pockets and ensures the Dome is compact and stable.
Step 3: Shape the mound
Aim for a rounded dome shape that is slightly wider than the chambers underneath.
- Height: at least 30–40 cm (12–16 inches) of soil above the chambers. This thickness is needed for insulation and for plant roots to establish later.
- Slope: keep the sides gradual, not steep, so soil won’t wash away in heavy rain.
Step 4: Compact for stability
After reaching full height, firmly press down the soil across the entire mound. Check that the surface feels stable under gentle pressure. If the soil is very dry, lightly sprinkle with water to help it settle and bind together.
Step 5: Blend into the environment
Spread a layer of leaf litter, bark, or mulch over the mound to mimic the forest floor. This prevents erosion, adds insulation, and helps camouflage the Dome before planting in the next step.