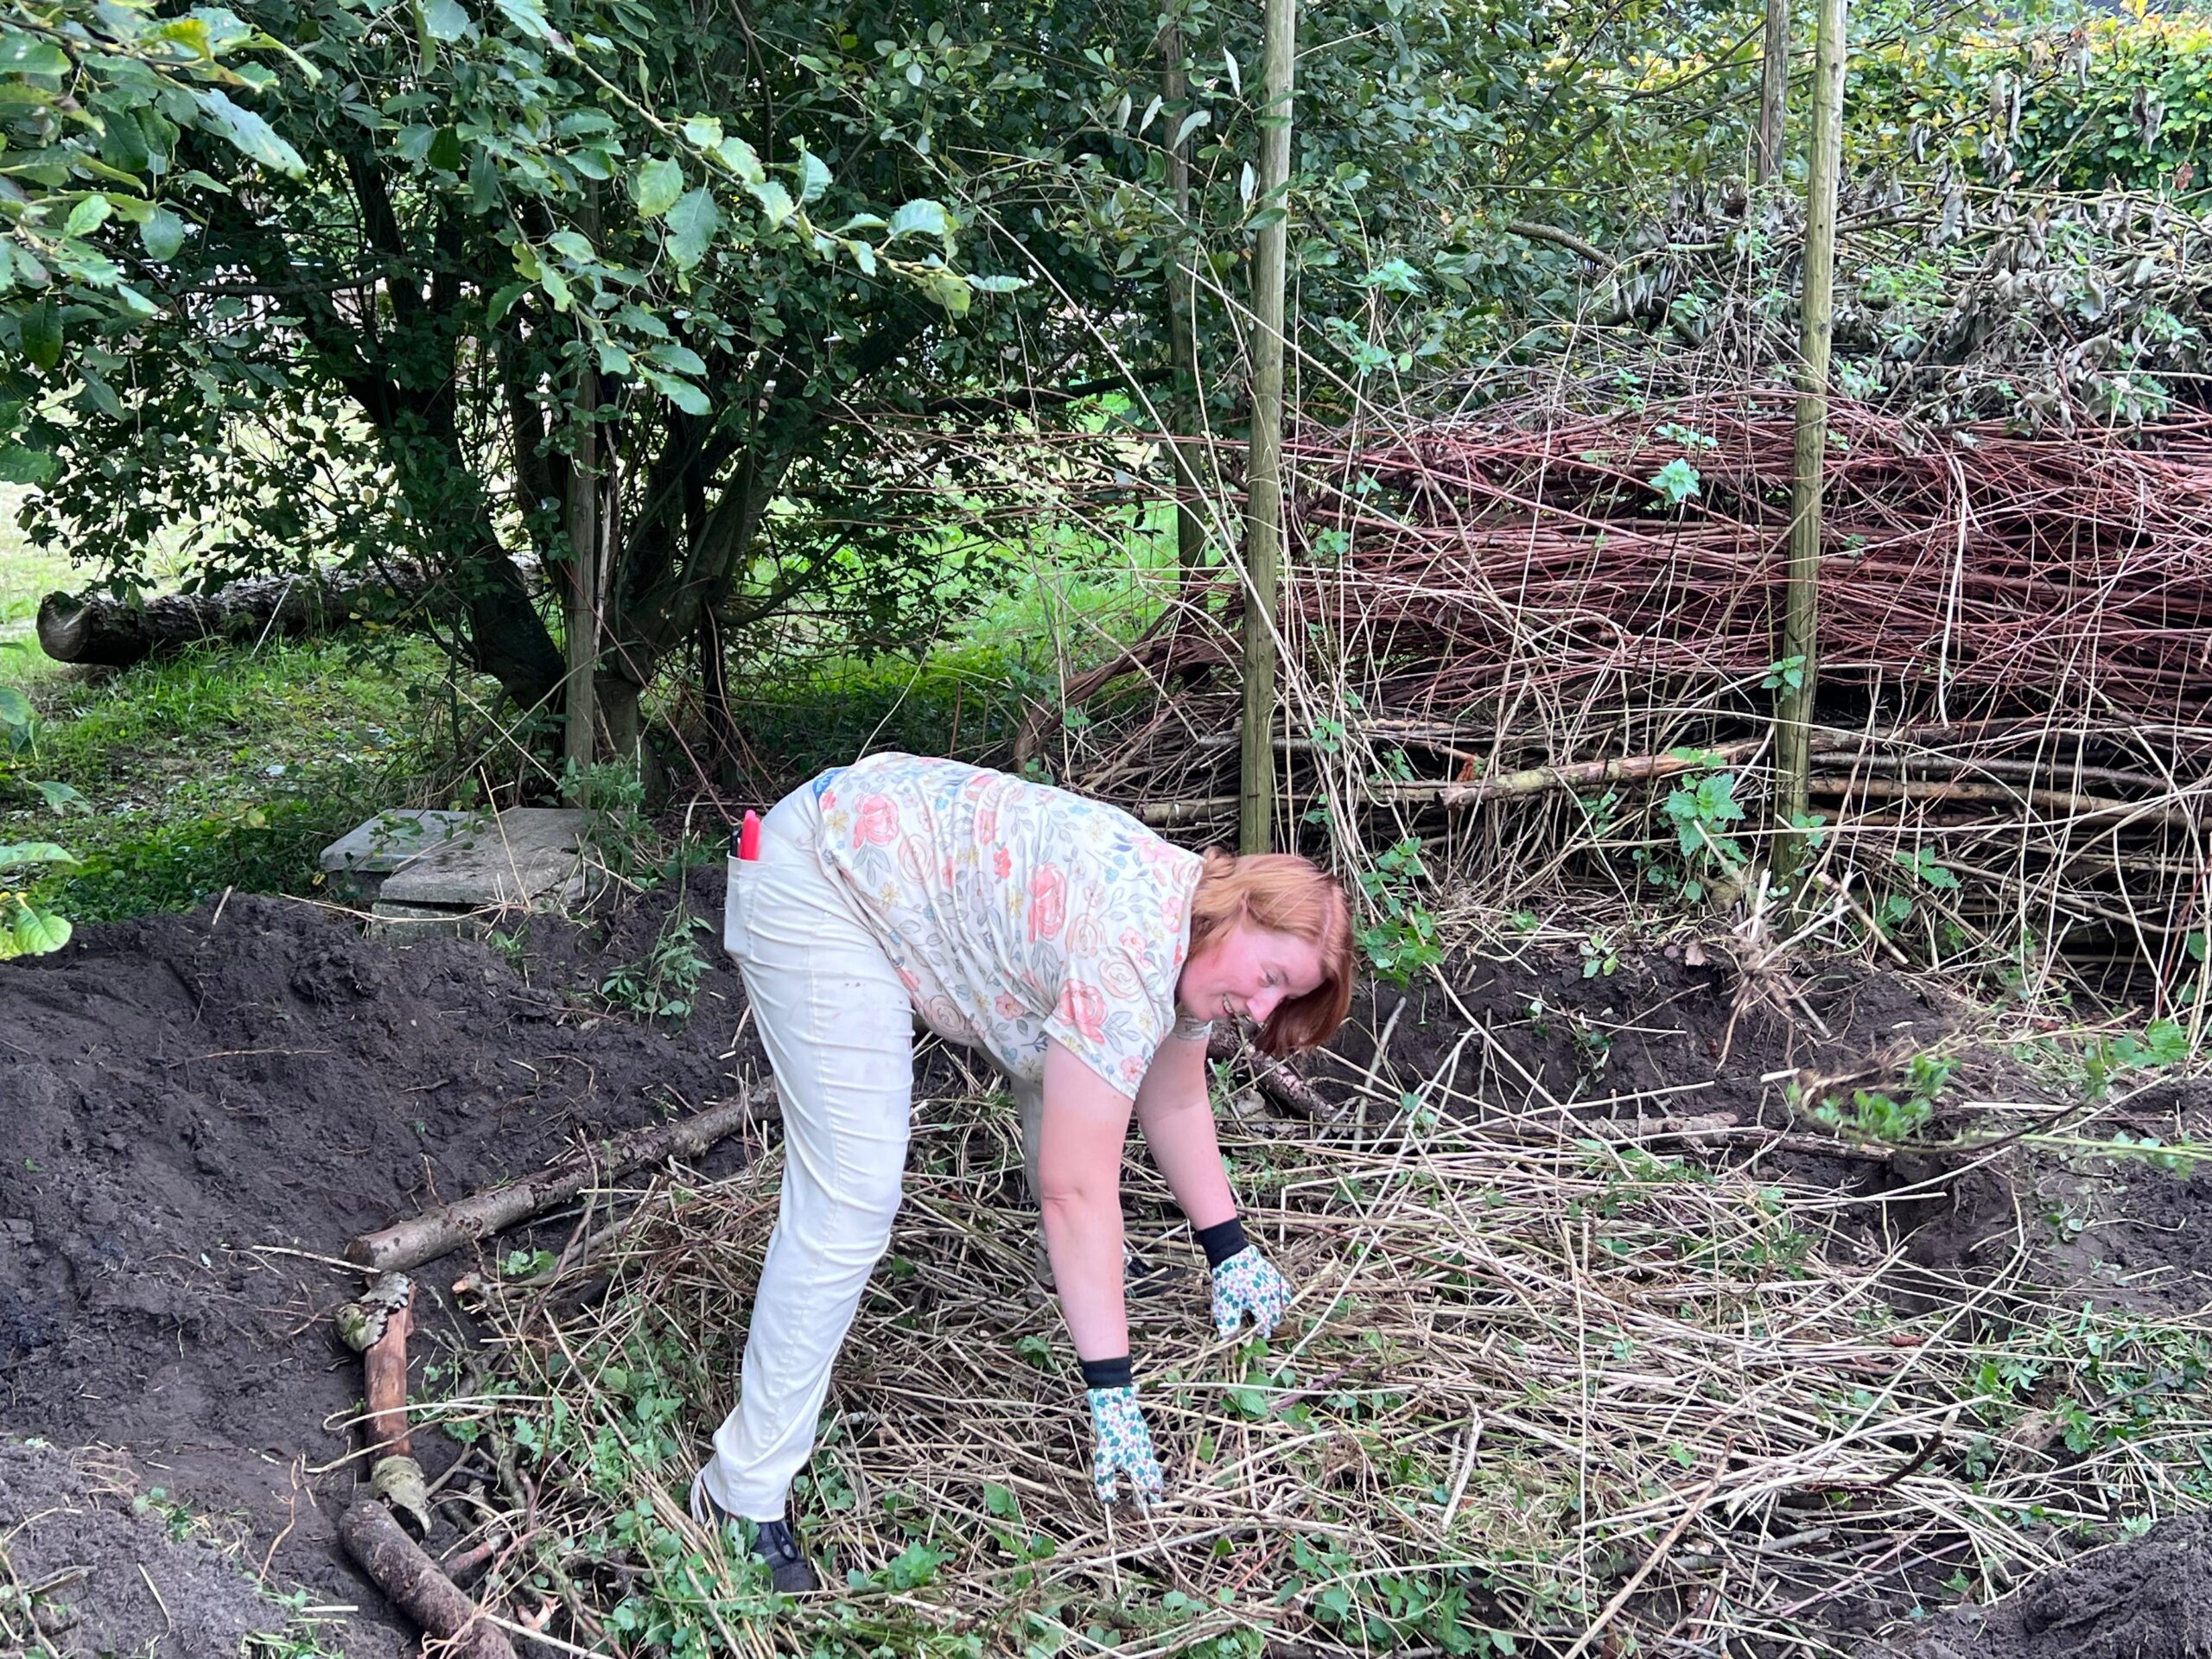
Preparing the ground & drainage
A Hedgehog Dome is only as good as its foundation. Before you build the nest chambers, you need to create a base that keeps the interior dry, stable, and safe from flooding. Good drainage ensures hedgehogs stay warm and insulated, even in heavy rain or during damp seasons.
Step 1: Choose and clear the site
- Select the spot you identified in Chapter 3 (safe, sheltered, accessible).
- Remove surface debris like stones, trash, or dense roots.
- Level the ground so the base of the Dome will sit evenly.
Step 2: Dig the foundation space
- Excavate a shallow pit where the nest chambers will be placed.
- Depth: around 10–15 cm (4–6 inches), enough to hold your drainage layers but not so deep that the structure floods.
Step 3: Lay the drainage layers
This three-layer system keeps the chambers dry and insulated:
1. Coarse sand (bottom layer)
Spread 3–5 cm (1–2 inches) of coarse sand evenly across the base.
Purpose: Allows water to drain away quickly instead of pooling under the chambers.
2. Small twigs or thin branches (middle layer)
Place a loose layer of twigs on top of the sand.
Purpose: Creates air pockets that improve drainage and prevent soil compaction.
3. Leaf litter (top layer)
Add a thick layer of dry leaves above the twigs.
Purpose: Provides natural insulation and mimics the soft base hedgehogs choose in the wild.
Step 4: Compact and check
- Gently press down the leaf litter to create a stable but cushioned surface.
- Check that the base is slightly sloped so water naturally drains away from the nest chambers.
Step 5: Prepare for chambers
Once the drainage base is in place, you are ready to start arranging bricks, stones, or other materials to form the nest chambers.
Always keep the drainage layers intact beneath them; this foundation will protect hedgehogs for years.